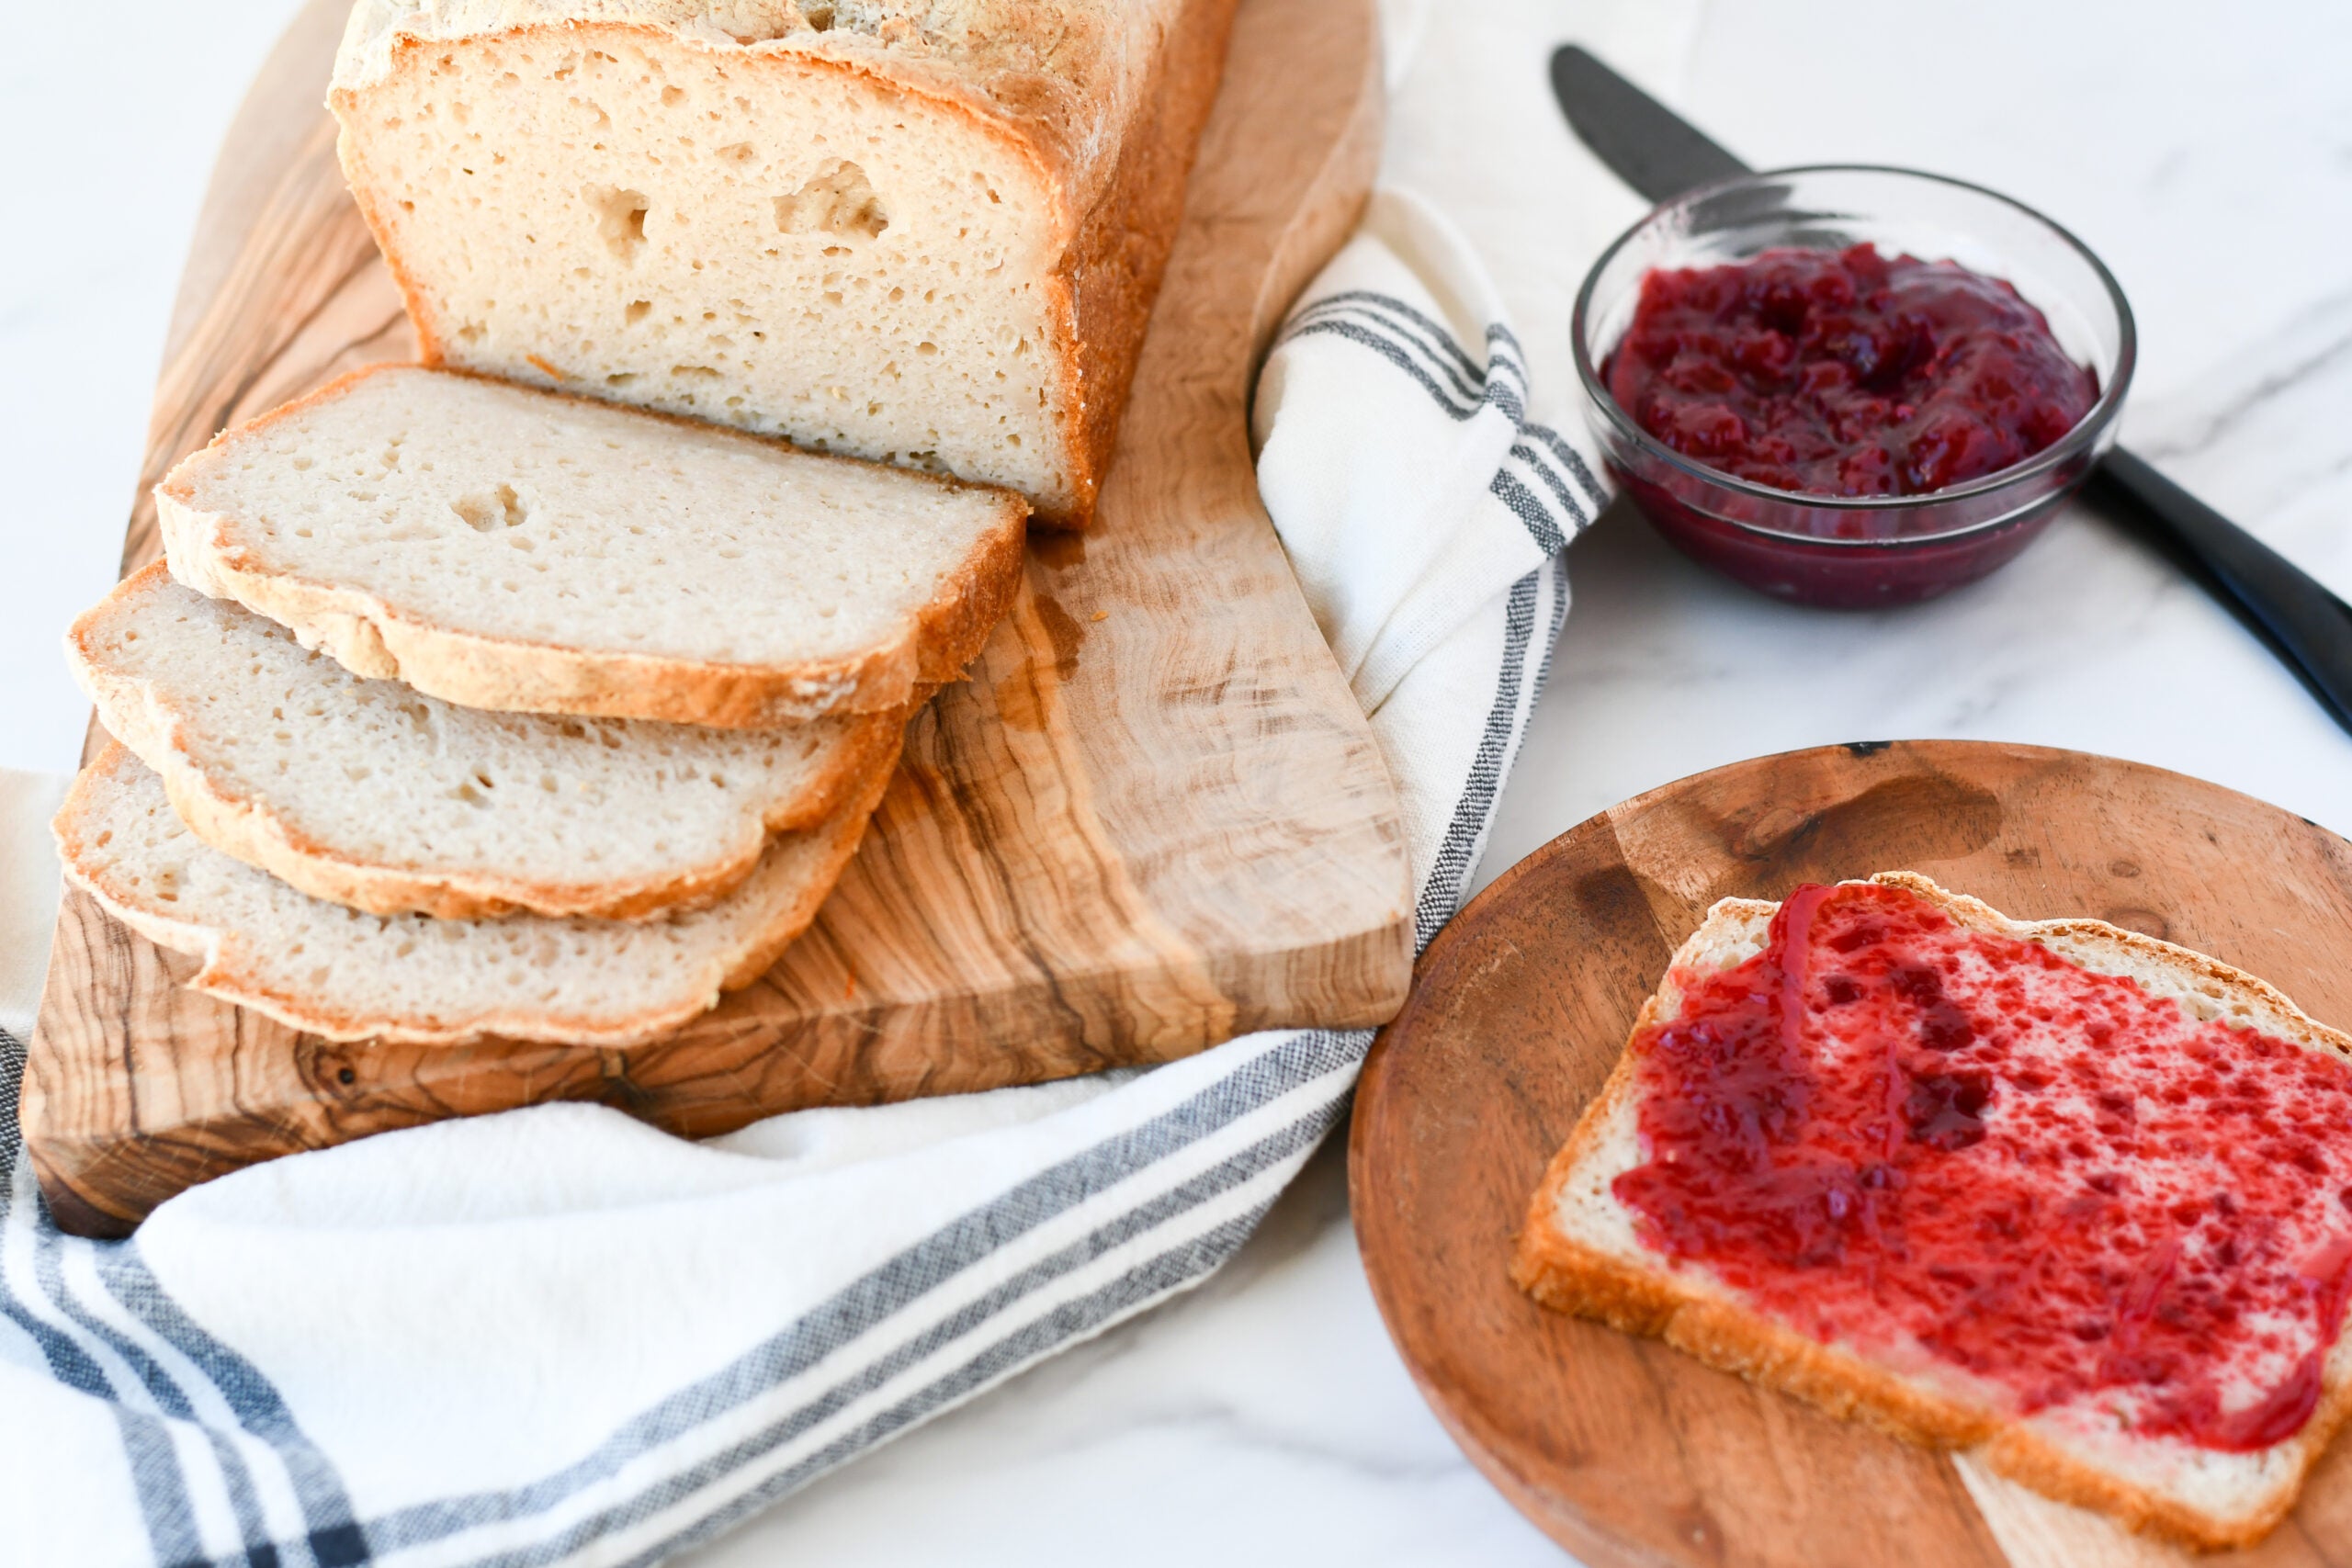
Perfect Sandwich Bread
Need a basic bread recipe for beginners? Use our recipe for plain white bread and make all of your favorites: grilled cheese sandwiches, French toast, bread crumbs, croutons and more!
Perfect Sandwich Bread
Prep Time: 30 min | Cook Time: 45-60 min
Ingredients
- 2 1/2 cups warm water 105°
- 2 1/4 tsp (7g) yeast (1 package)
- 2 tsp (9g) salt
- 50g granulated sugar
- 50g avocado oil or vegetable oil
- 560g Better Batter Original blend + 15 g whole psyllium husk or 10g psyllium husk powder or 6g glucomannan
Instructions
Preheat oven to 375°F. Prepare a standard 8×4 loaf pan and coat with cooking spray. ( do not us Glass pans)
Mix. In a bowl of a stand mixer, add Artisan or Original blend + 15 g whole psyllium husk or 10g psyllium husk powder or glucomannan. Then add all remaining ingredients.
Mixing with the Paddle Attachment, begin on low to combine, then increase to high speed for 5 minutes until dough is cohesive and fluffy. It will be wet at this point.
Transfer Dough. Using a spatula or a plastic scrapper transfer the dough into the prepared loaf pan.
Shaping. To shape the top of the dough, wet your hands with warm water. Smooth the surface. To facilitate domed top, run your fingers around the edge of the loaf applying light pressure. The sides should be 1/2” shorter than the rest of the loaf. Cover with a warm damp cloth. In a warm place, proof the loaf about 45-70 minutes or until doubled. A warm place with relatively high humidity will result in the best rise and shape.
Bake the bread in the middle of the oven 45-60 minutes. In a properly calibrated oven the loaf should take an hour to bake. Bread is done when internal loaf temperature reads about 210°.
Remove from pan and place loaf on its side on a cooling rack. Allow to cool for one hour.
Rotate loaf to the other side and cool about 4 hours. Bread will be gummy if you try to slice it before cooling time is finished. Flavor and texture improve over the 5 hour cooling time and the moisture has a chance to equalize.
Slicing. Wait till bread has been cooled for at least 5 hours before slicing.
This recipe was originally tested and adapted from a recipe published by Patrick Auger in January 2023. Original photo of food by Jennifer Bigler.


